Table of Contents
The Complete Guide to Installing a Quartz Countertop in a Bathroom
Installing a quartz countertop in your bathroom can transform the space into a luxurious oasis. As a homeowner in the Greater Seattle area, you may be considering this upgrade not only for aesthetic appeal but also for long-term durability and value. In this comprehensive guide, we will walk you through the entire process of installing a quartz countertop, providing expert insights, tips, and essential information to ensure a successful project. By the end of this article, you will have a clear understanding of the installation process, the benefits of quartz countertops, and how to select the perfect slab for your bathroom.
Understanding Quartz Countertops
Quartz countertops are engineered stone surfaces made from 90-95% crushed natural quartz crystals mixed with resins and pigments. This combination results in a durable and non-porous material that is resistant to stains, scratches, and heat. Here are some key advantages of choosing quartz for your bathroom countertop:
- Durability: Quartz is one of the hardest minerals, making it highly resistant to chips and cracks.
- Low Maintenance: Unlike natural stone, quartz does not require sealing, making it easier to maintain.
- Variety of Designs: Available in a wide range of colors and patterns, quartz can mimic the look of natural stone, allowing for versatile design options.
- Hygienic Surface: Its non-porous nature prevents the growth of bacteria, making it a safe choice for bathrooms.
Why Choose Quartz for Your Bathroom?
Choosing quartz for your bathroom countertop is an investment in both beauty and functionality. Not only does it enhance the aesthetic appeal of your space, but its durability ensures that it will stand the test of time. Homeowners across the Greater Seattle area trust quartz countertops for their exceptional craftsmanship and reliable performance.
Preparing for Installation
Before diving into the installation process, proper preparation is crucial. Here’s how to get ready for your quartz countertop installation:
1. Measure Your Space
Accurate measurements are essential for a successful installation. Measure the length and width of your existing vanity or countertop space. Consider the following:
- Depth of the countertop
- Height of the backsplash (if applicable)
- Any cutouts needed for sinks or faucets
2. Select Your Quartz Slab
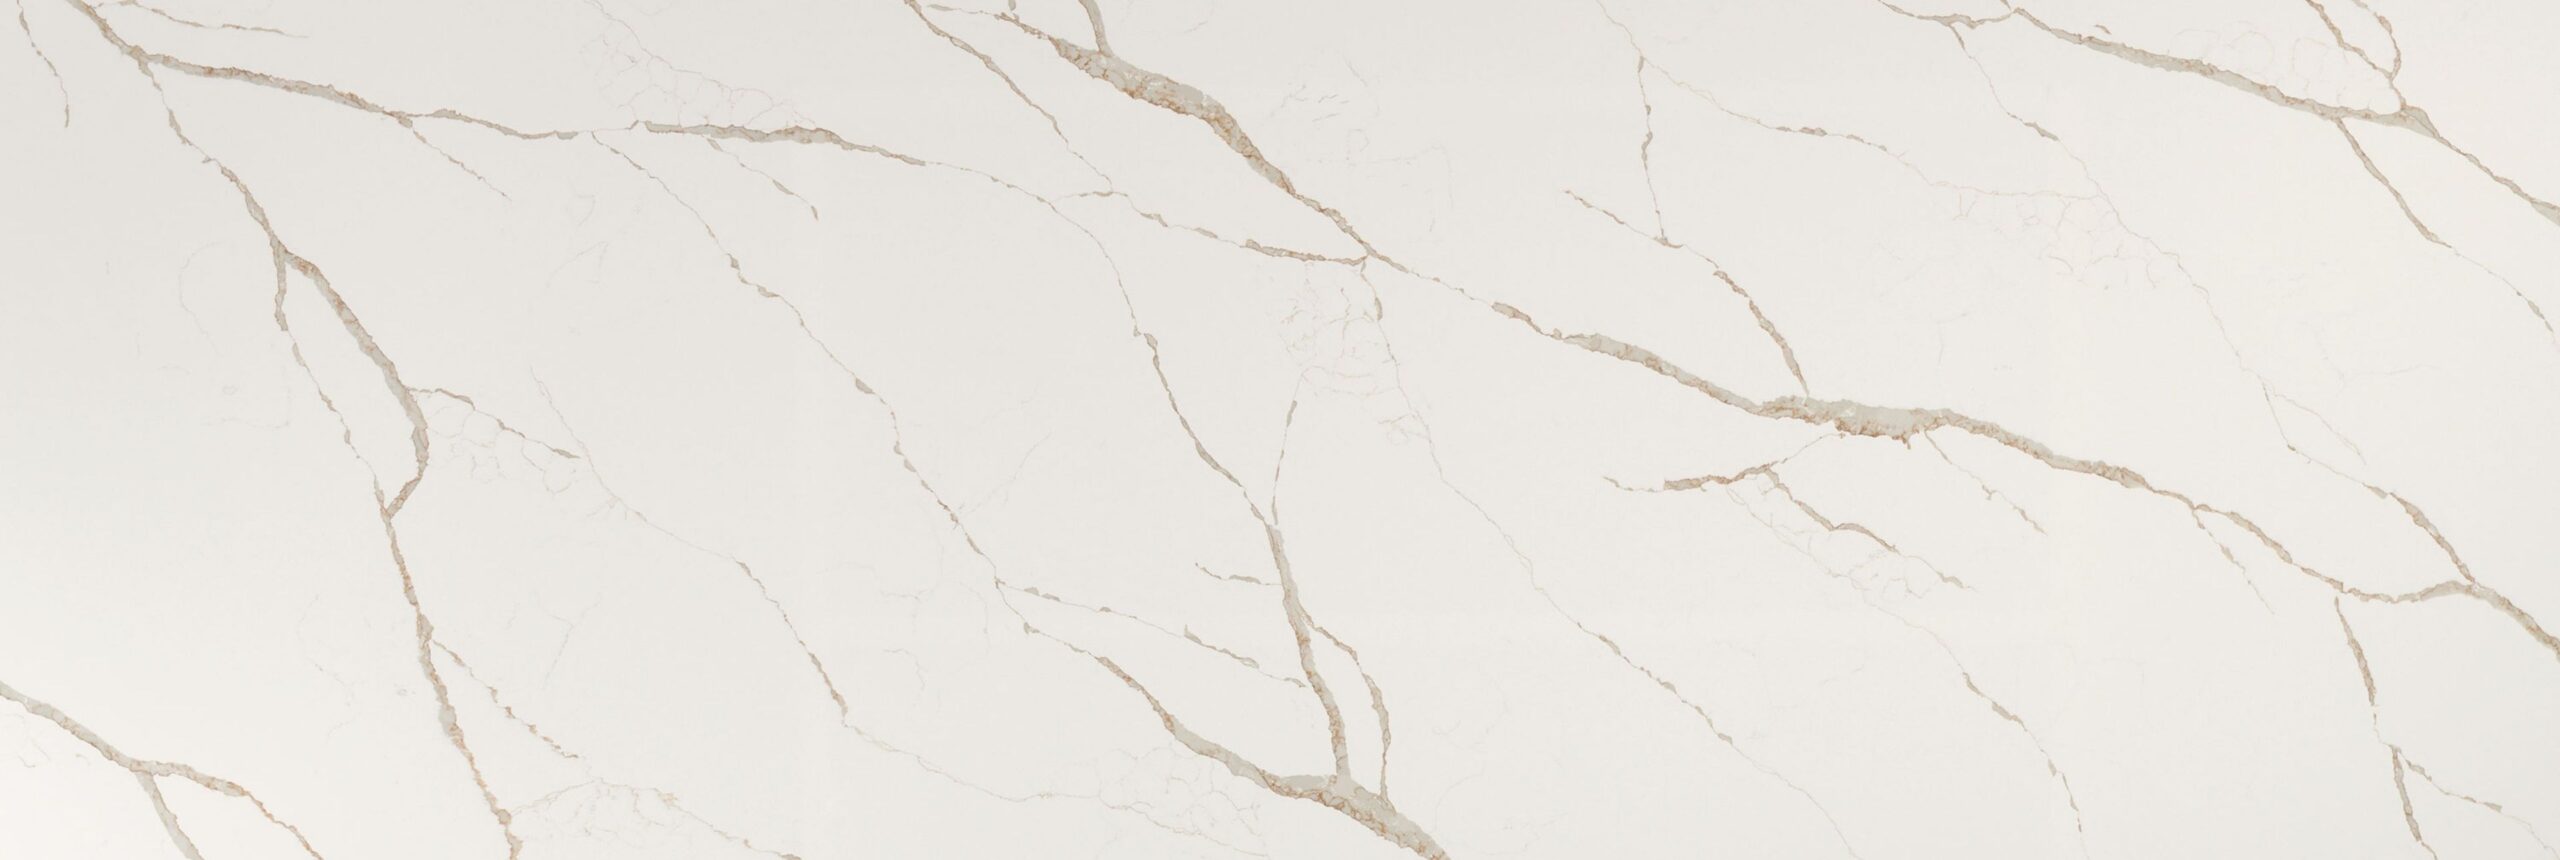
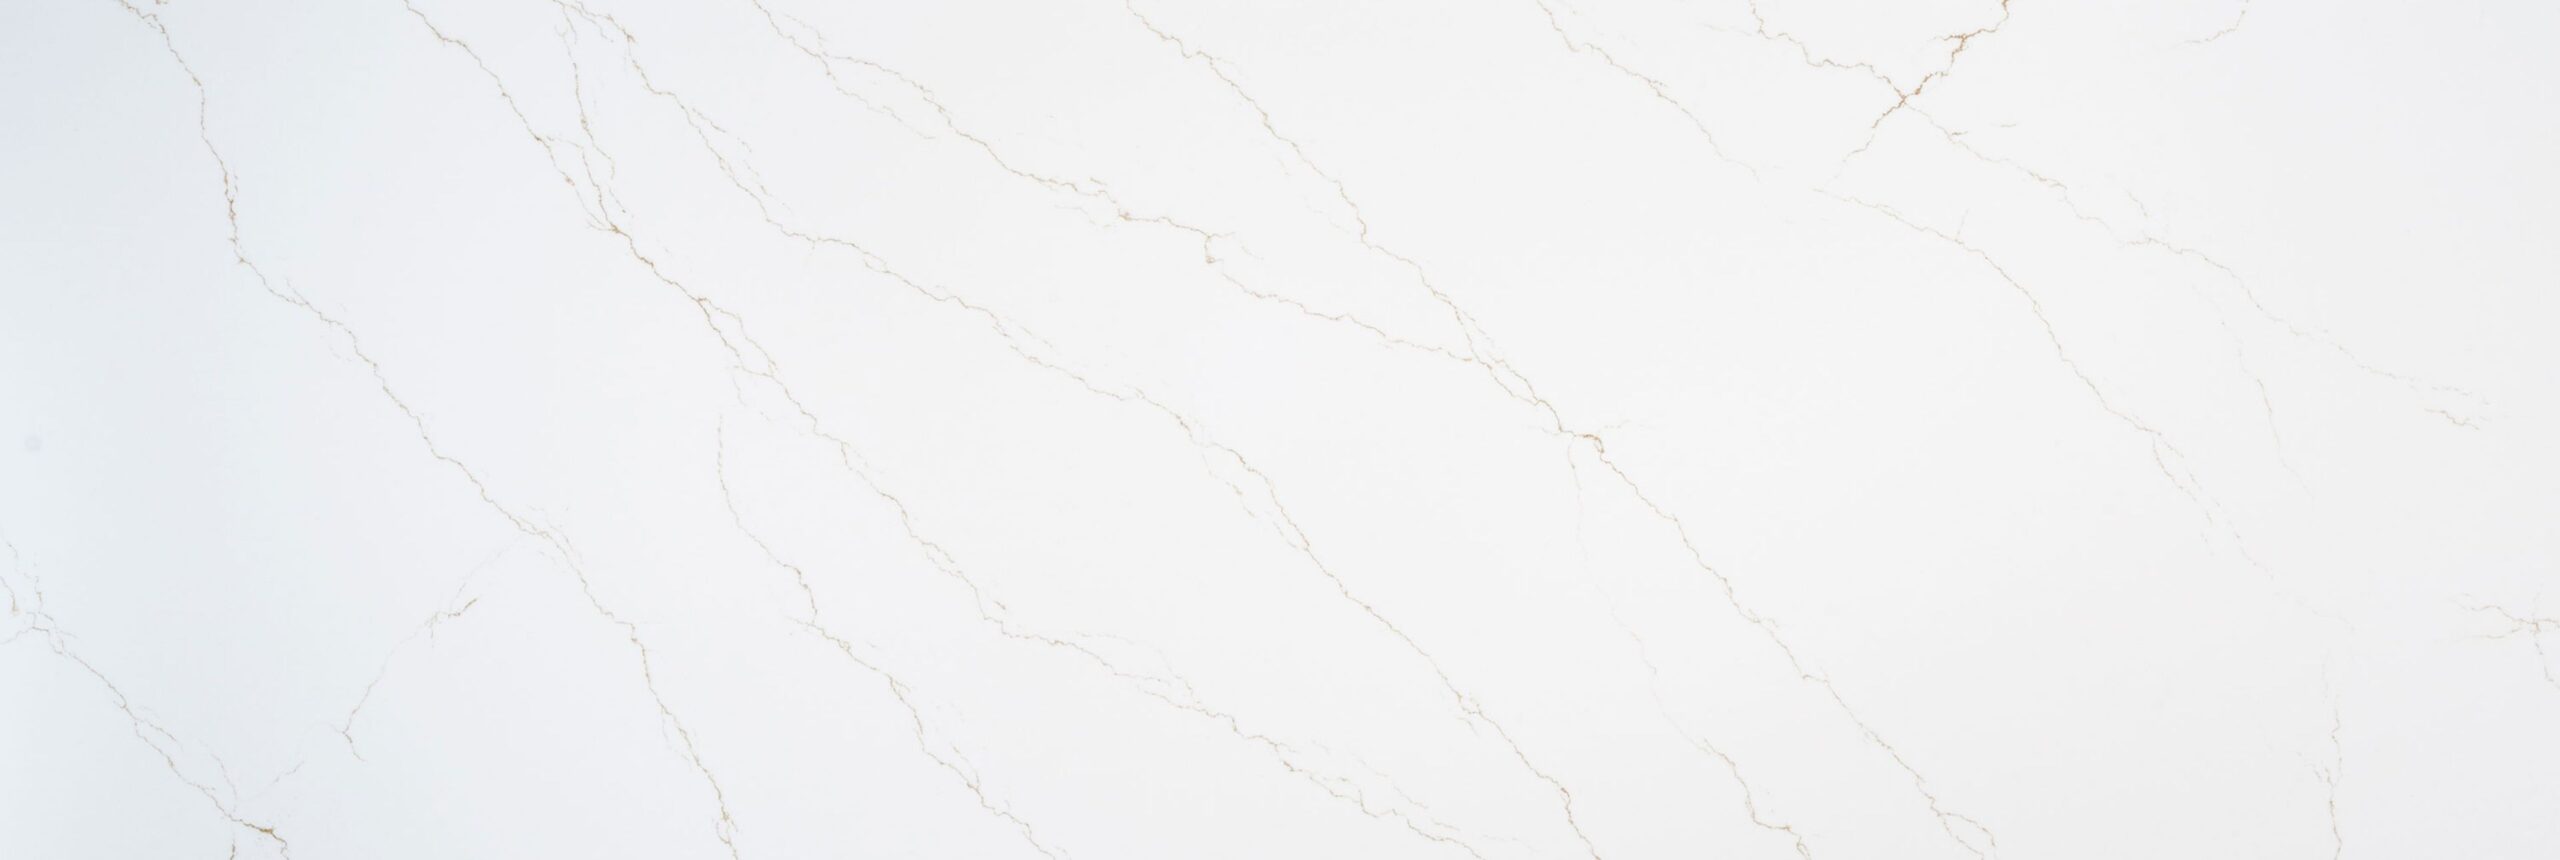
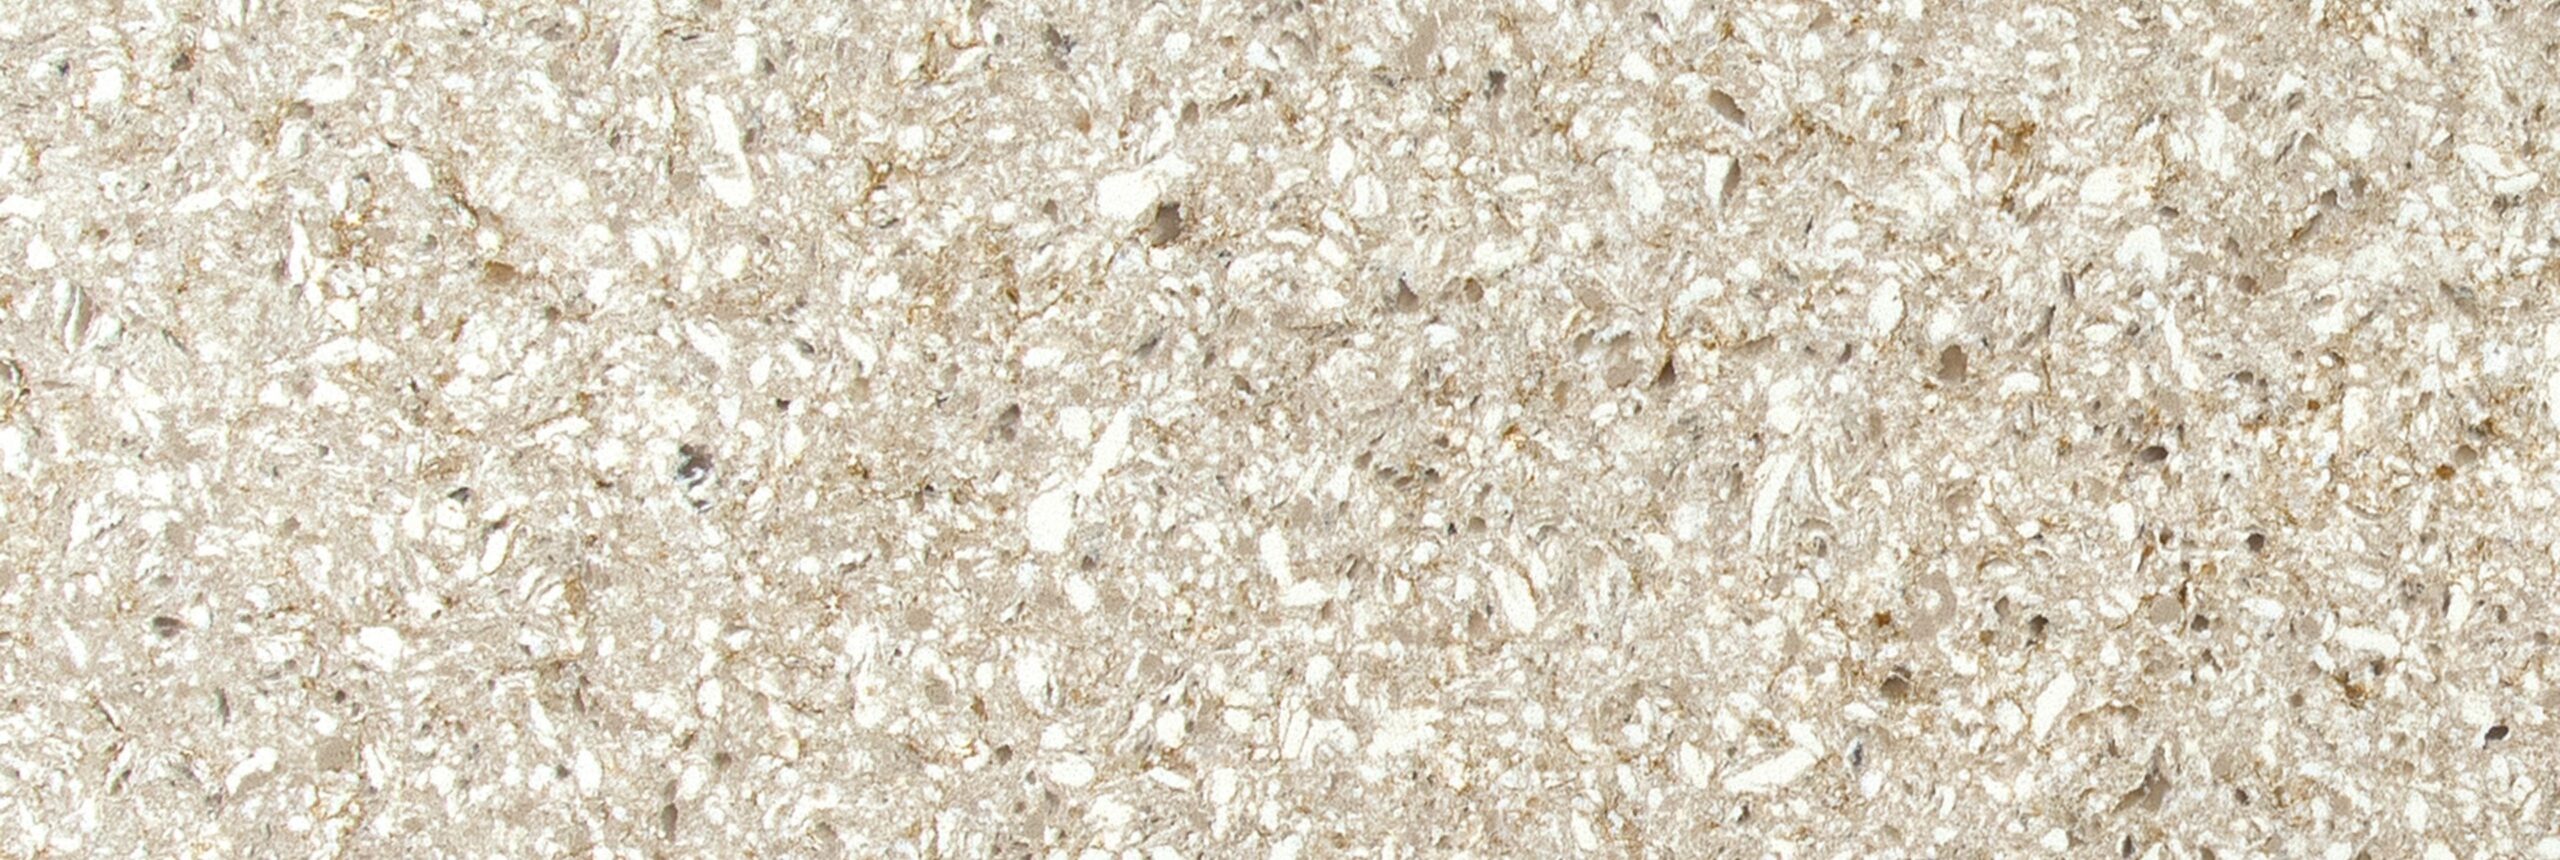
Visit our Everett showroom to explore a wide selection of quartz slabs. Take your time to choose a color and pattern that complements your bathroom design. Popular options include:
3. Gather Necessary Tools and Materials
Ensure you have all the tools and materials needed for installation:
- Measuring tape
- Level
- Caulk and caulking gun
- Adhesive for countertops
- Saw (if cutting is needed)
The Installation Process
Now that you're prepared, let’s walk through the installation process step-by-step.
Step 1: Remove the Old Countertop
Carefully remove your existing countertop. If it's glued down, use a pry bar to gently detach it from the base. Be cautious not to damage the underlying cabinetry or walls.
Step 2: Prepare the Base
Ensure that the vanity base is level and in good condition. If there are any repairs needed, take care of them before proceeding. A level base is crucial for a successful installation.
Step 3: Dry Fit the Quartz Slab
Place the quartz slab on the vanity to check the fit. Make any necessary adjustments before securing it. This is also the time to mark any areas for cutouts such as sinks or faucets.
Step 4: Cut the Quartz (if necessary)
If your slab requires cutting, use a wet saw for a clean finish. Ensure you wear safety gear during this process.
Step 5: Secure the Quartz Slab
Apply adhesive to the top of the vanity and carefully place the quartz slab on top. Use a level to ensure it is even. Allow the adhesive to cure as per the manufacturer's recommendations.
Step 6: Install Sink and Faucet
Once the slab is secured, cut out spaces for the sink and faucet according to your measurements. Install the sink and faucet according to the manufacturer's instructions.
Step 7: Seal the Edges
Use caulk to seal the edges where the quartz meets the wall or backsplash. This prevents moisture from seeping underneath the countertop.
Step 8: Final Inspection
Check all connections and ensure everything is secure. Clean the countertop with a gentle cleaner to remove any dust or debris.
Maintenance and Care
To keep your quartz countertop looking pristine, follow these maintenance tips:
- Wipe down the surface with warm, soapy water or a mild cleaner.
- Avoid abrasive cleaners that can scratch the surface.
- Use cutting boards and trivets to protect against scratches and heat damage.
- Regularly check for any signs of damage or wear and address them promptly.
Common Questions
1. How long does the installation process take?
The installation process typically takes a day, depending on the complexity of the project.
2. Can I install a quartz countertop myself?
While DIY is possible, professional installation is recommended for optimal results. Our experienced installers at Washington Granite can ensure a flawless finish.
3. How do I clean my quartz countertop?
Use warm, soapy water or a gentle cleaner. Avoid harsh chemicals that can damage the surface.
4. Are quartz countertops heat resistant?
Quartz countertops can withstand heat to a degree, but it is advisable to use trivets for hot pots and pans.
5. What colors are available for quartz countertops?
Quartz countertops come in a variety of colors and patterns. Visit our inspiration gallery for ideas.
6. Do I need to seal my quartz countertop?
No, quartz countertops are non-porous and do not require sealing.
7. How durable are quartz countertops?
Quartz countertops are very durable, resistant to scratches, stains, and heat.
8. Can I use quartz for a bathroom vanity?
Yes, quartz is an excellent choice for bathroom vanities due to its durability and aesthetics.
Conclusion
Installing a quartz countertop in your bathroom not only elevates the look of your space but also provides lasting value. By following this comprehensive guide, you can ensure a successful installation process. If you're ready to explore your options, contact us for personalized guidance or visit our Everett showroom today!

About Washington Granite
Premium granite, quartz, quartzite, and marble countertop specialists in Washington State. We help homeowners transform their kitchens and bathrooms with luxury stone surfaces.